
How to Set Up a Virtuals Protocol Wallet — Beginner's Guide 2026
Learn setting up a Virtuals Protocol wallet with this beginner's guide. Step-by-step instructions, tips, and FAQ for crypto newcomers.
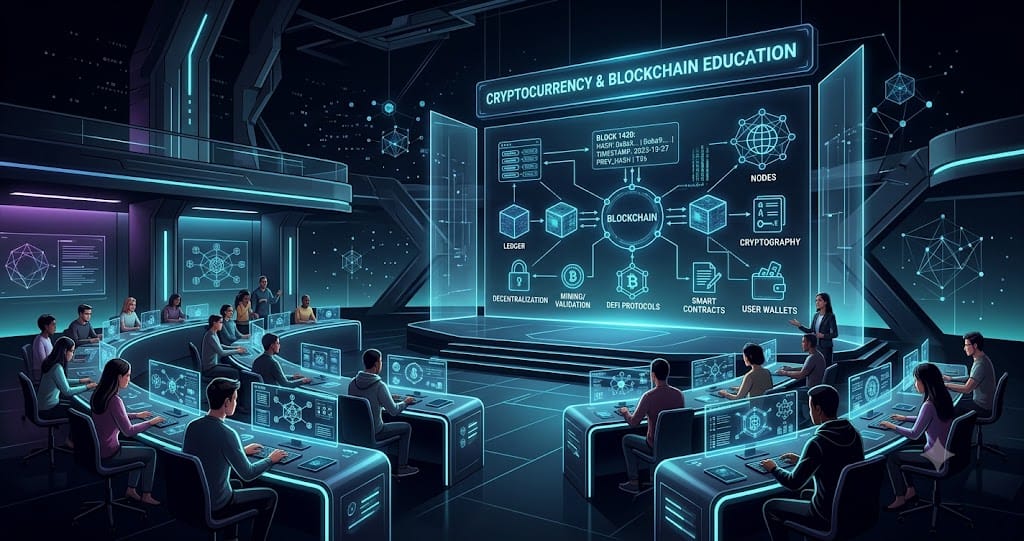
This guide walks you through setting up a Virtuals Protocol wallet step by step. Whether you're new to crypto or expanding your skills, we cover everything you need to get started safely and effectively.
In This Guide
- A computer or smartphone with internet access
- A valid email address for account registration
- Basic understanding of cryptocurrency concepts
- A small amount of crypto or fiat currency to practice with
Step-by-Step Guide
Create a compatible crypto wallet
Virtuals Protocol (VIRTUAL) is an ERC-20 token on Ethereum, so pick a wallet that supports Ethereum-based tokens. Install MetaMask.
Download the official browser extension or mobile app, click "Create a Wallet," and set a password. Lose your Secret Recovery Phrase and MetaMask can't get it back — there's no reset option.
Secure your wallet and verify the network
Write your Secret Recovery Phrase down on paper and keep it offline. If you're holding larger amounts, add a hardware wallet for extra security. Ethereum's market cap sits in the hundreds of billions as of March 2026, and once an on-chain transfer confirms, it can't be reversed — protect your keys accordingly. Don't screenshot the phrase or save it to cloud storage; that's exactly where attackers look first.
Buy ETH and transfer funds to your wallet
Buy Ethereum (ETH) on a platform like Coinbase.
Copy your MetaMask wallet address, then hit "Send" from the exchange to transfer ETH over. You'll need ETH to cover gas fees — Etherscan data shows these can run from a few cents to several dollars depending on network load. Double-check the network before sending; pulling funds from an exchange on BNB Chain instead of Ethereum is a common way to lose them.
Connect your wallet to a Virtuals trading platform
Find a platform that supports VIRTUAL trading, such as a decentralized exchange, click "Connect Wallet," and select MetaMask. CoinMarketCap listed VIRTUAL's price and volume as changing daily as of March 2026, so verify the token contract address before swapping. Fake contracts exist — check the address against official Virtuals Protocol sources before you confirm anything.
Select VIRTUAL and confirm your swap
Set ETH as the payment token and VIRTUAL as what you're receiving, enter the amount, check the estimated gas fee, then click "Swap" and confirm in MetaMask. Etherscan records every swap as a public transaction, so you can confirm it went through by checking your wallet address afterward. Set slippage too low during volatile periods and the swap will just fail.
Tips and Best Practices
- Store your VIRTUAL tokens in a hardware wallet like Trezor, which keeps private keys offline and supports Base, Ethereum, and Solana networks-
- Back up your 12-word recovery phrase on paper in a secure offline location, and never share it or store it digitally-
- Add the VIRTUAL token manually to your wallet dashboard by searching for "VIRTUAL" in the token list after creating your wallet-
- Send USDC deposits to the Butler Wallet only on the Base mainnet, as deposits on other networks will not be credited-
- Verify the recipient address on your hardware wallet's screen before confirming any outgoing transfer to prevent man-in-the-middle attacks-
Virtuals Protocol (VIRTUAL) Resources
Ready to start trading?
Trade on Bitget Try CoinTech2uAffiliate links — we may earn a commission at no extra cost to you.
Frequently Asked Questions
Is it safe to set up a virtuals protocol wallet?
Set Up a Virtuals Protocol Wallet is generally safe when using reputable platforms and following security best practices. Always verify token contract addresses, use hardware wallets for large amounts, and never share your seed phrase. Start with small amounts while you learn the process.
How much money do I need to set up a virtuals protocol wallet?
Most platforms let you start with as little as $10 to $50 worth of crypto. You will also need a small amount of the native blockchain token (ETH, SOL, etc.) to cover gas fees, which typically cost $0.50 to $5 depending on the network.
What are the risks of setting up a Virtuals Protocol wallet?
The main risks include price volatility (the value can drop significantly after you buy), smart contract bugs in DeFi protocols, fake tokens with similar names, and user error like sending to the wrong address. Only use money you can afford to lose.
Where is the best place to set up a virtuals protocol wallet?
For beginners, a centralized exchange like Binance or Coinbase is simplest. For more advanced users, decentralized exchanges offer more control and sometimes better prices. Check CoinGecko's market page for Virtuals Protocol (VIRTUAL) to see which exchanges have the best liquidity.
Related Articles
- How to Set Up a Aave Wallet — Beginner's Guide 2026
- Ledger vs Trezor — Detailed Comparison 2026
- Bitcoin Funding Rate Reversal and Volatility Cycle: 2026 Data Breakdown
Related Articles
- How to Set Up a Aave Wallet — Beginner's Guide 2026
- Ledger vs Trezor — Detailed Comparison 2026
- Bitcoin Funding Rate Reversal and Volatility Cycle: 2026 Data Breakdown